If you recently got a new Ring doorbell and are ready to get it up and running, you’ve come to the right place. And if you’ve been putting it off because home projects intimidate you, there’s no need to stress about this one. Installing and setting up a Ring doorbell is quick and simple, and everything you need comes in the box.

Before you get started, figure out which type of device you have (or want to purchase): wired or battery-powered.
If your home already has a traditional doorbell set up, you can tap into its low-voltage wiring, using the same wires that power your existing doorbell for your Ring doorbell. If you don’t have an existing doorbell, or you simply don’t want to mess with electricity at all, you can opt to install one of the battery-powered Ring models.
No matter which type of device you have, we’re here to help. Below are step-by-step instructions on how to set up your new Ring doorbell.
How to set up a battery-powered Ring doorbell
Setting up one of the Ring battery-powered models (like the Video Doorbell 2nd Generation, Battery Doorbell Plus, or the new Battery Doorbell Pro) is very straightforward. Here’s what to do:
1. Charge the battery that came with your Ring device. Depending on the model, the battery might be removable or integrated into the Ring itself.
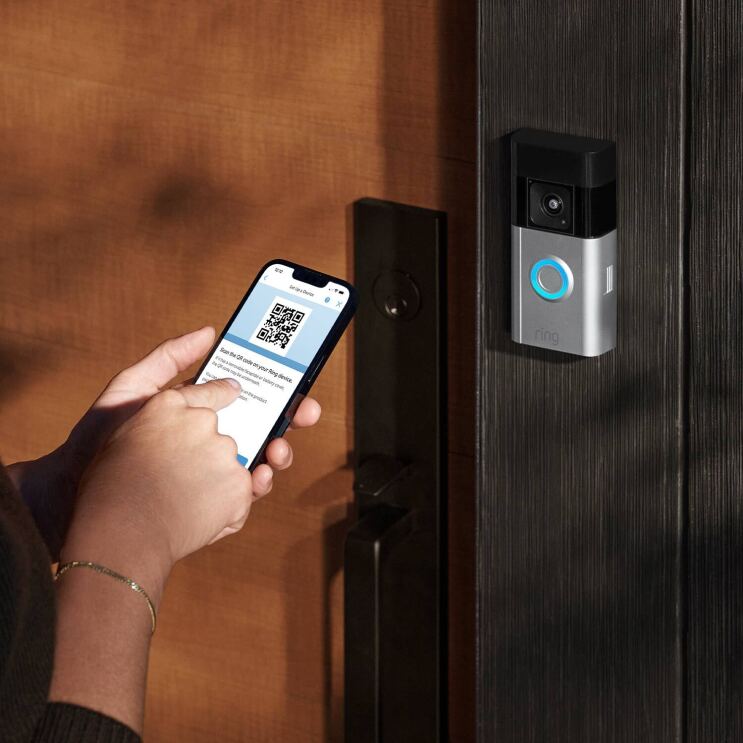
2. Install the Ring mobile app on your phone. Follow the instructions in the app to create a Ring account (or sign into your existing Ring account) and configure your new device. (Tip: Do this step near your Wi-Fi router.)
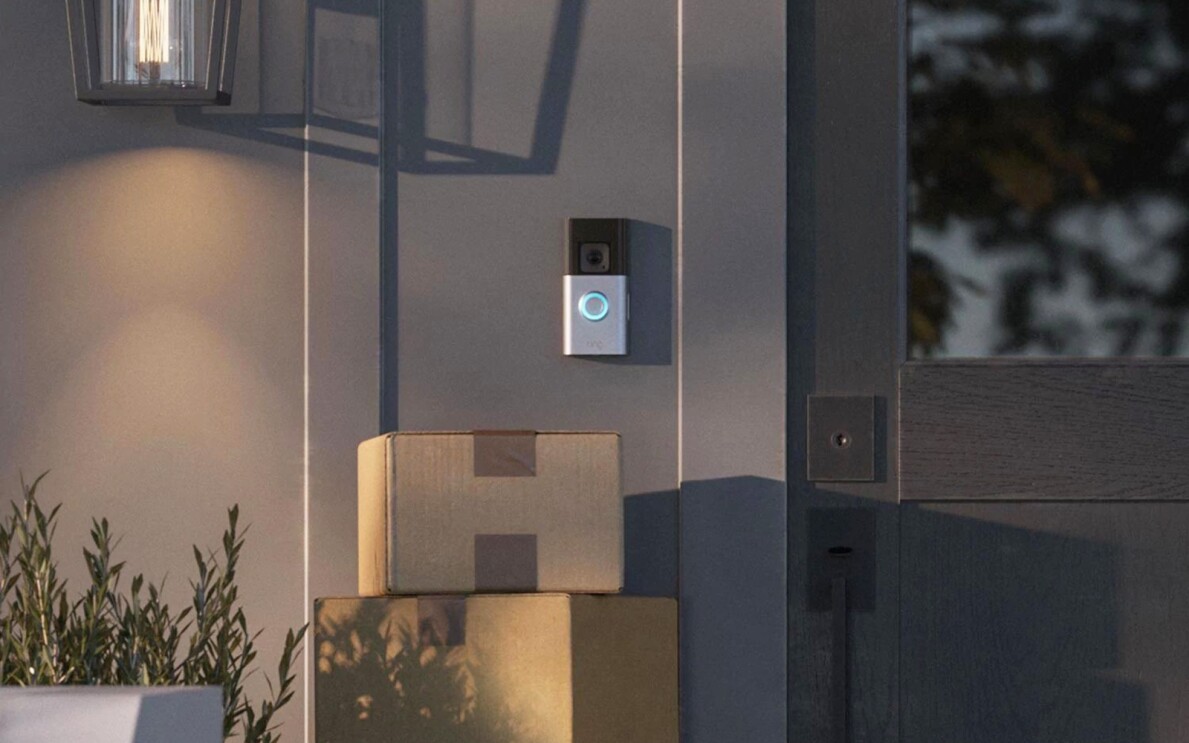
3. Decide where you want to mount your Ring, and begin installation.
4. Depending on which model Ring you have, either remove the faceplate or the mounting bracket, and use the mounting holes to mark where you want to position it. Some models may include a small level to help orient the Ring on your wall.
5. If you’re mounting the Ring doorbell to brick, concrete, or stucco, drill pilot holes for your screws using the special drill bit included with the Ring device. (If you’re positioning it over wood or siding, skip this step.)
6. Screw the Ring onto the wall with the mounting screws.
7. For Ring doorbell models with a removable battery, insert it now and replace the faceplate.
8. Use the special screwdriver included with your Ring to tighten the security screw that secures the Ring in place.
How to set up a wired Ring doorbell
If you opt for one of Ring’s wired models (like the Video Doorbell Wired, Wired Doorbell Plus, or the Wired Doorbell Pro), setup is very similar to installing a battery model. Here’s what to do:
1. Start by installing the Ring mobile app on your phone. Follow the instructions in the app to create a Ring account (or sign into your existing Ring account) and configure your new Ring doorbell.
2. Disable power to the previous doorbell using your home’s breaker box. If you’re not sure which breaker controls the power at the front door, experiment and make sure the previous doorbell no longer rings when pressed before proceeding.

3. Find the chime box inside your house—it’s probably near the front door—and pop the cover off.
4. Depending on which Ring model you purchased, you’ll either need to install the Chime Power Kit (which, as the name implies, helps power the Ring) or simply attach the included jumper cable. Check the instructions that came with your Ring for details on which approach you need to take. Either way, you’ll need to loosen the Front and Trans terminals inside the chime box and attach the power kit or jumper between the two terminals, then tighten the screws.
5. Outside your front door, remove the old doorbell. That’s probably a simple matter of unscrewing it from the wall.
6. Unscrew the wires from the Ring doorbell and securely tape them to the wall so they don’t fall into the open doorbell hole and disappear inside your wall forever.
7. Remove the faceplate from your new Ring doorbell and mark the mounting holes with a pencil so you know where to screw it in.
8. The material to which you’re affixing the Ring doorbell matters. If you’re mounting it on brick, concrete or stucco, check the Ring box for a special drill bit. Use it to drill pilot holes for your screws.
9. Securely connect your home’s doorbell wires to the screws on the back of the Ring. Don’t be surprised if the wires are too short to work with. If that’s the case, use the extension wires and wire nuts included in the Ring packaging.
10. Screw the Ring onto the wall with the mounting screws.
11. Reattach the faceplate onto the newly mounted Ring doorbell.
12. You should see that there’s a special security screw at the bottom of the Ring doorbell. This prevents anyone from disconnecting the Ring device from power. Use the special small screwdriver included with your Ring device to tighten that screw, which secures the faceplate in place.
13. Back at your breaker box, turn the power back on.
Next, learn about some of the best features of a Ring video doorbell.
Next, learn about some of the best features of a Ring video doorbell.